
Create a native bundle
By the end you'll have a bundle product customers add to the cart in one click, made of real products you picked, priced how you want, with Shopify tracking each component's inventory for you. Think "Starter Kit", "Coffee and Mug", "The Weekend Box".
The difference from an option set is who decides what's inside. With an option set the customer configures the product, choice by choice. With a native bundle you decide the contents up front and the customer just buys it. If you want them picking their own items from a pool, that's Build-a-Box.
Build the bundle
- Open Optionfier from your Shopify admin and click New bundle. There's no product to pick first: Optionfier creates the Shopify product for you out of what you fill in here.
- Fill in Title. Unlike an option set's name, this one is customer-facing, so call it what you'd sell it as. Status sits right next to it; come back to it at the end.
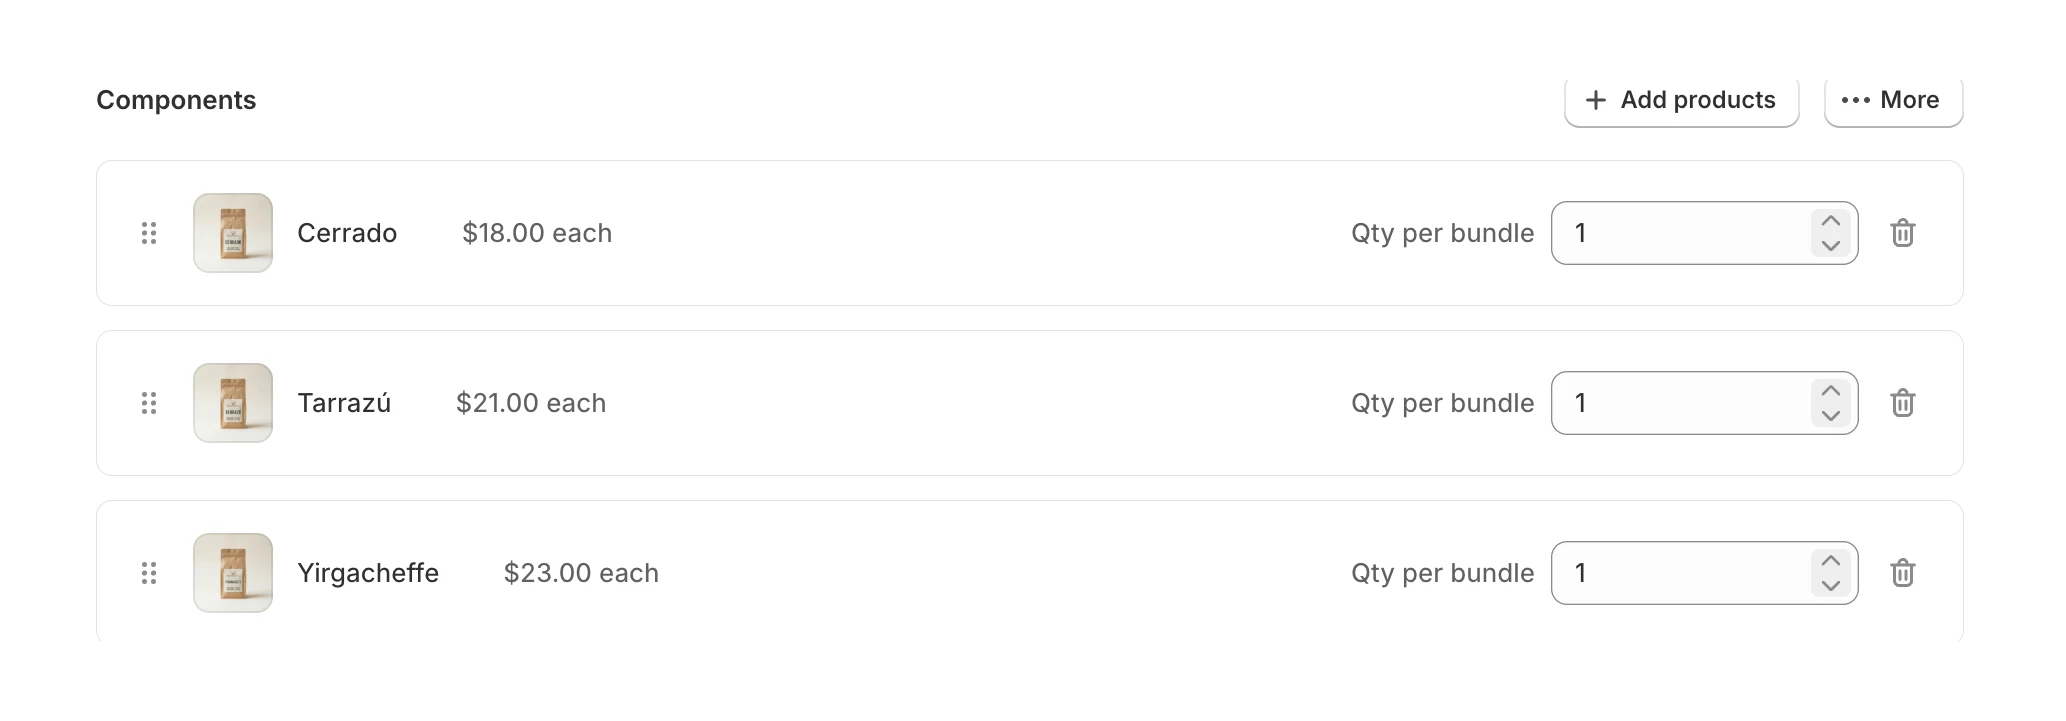
- In the Components card, click Add products and pick everything that goes in the bundle. The picker selects variants, not just products, so pick the exact one you mean. Each component lands on its own row with its thumbnail, its name, its unit price, and a Qty per bundle field. Set that field when a bundle needs more than one of something: two mugs, six cans, four coasters. The trash icon on the row removes a component you added by mistake. A bundle with no components won't save, so this card is the one that has to be filled in. Below 10 components, drag the rows to set the order the recipe uses. Past 10, the list switches to a search box and pages instead, and the order can no longer be dragged.
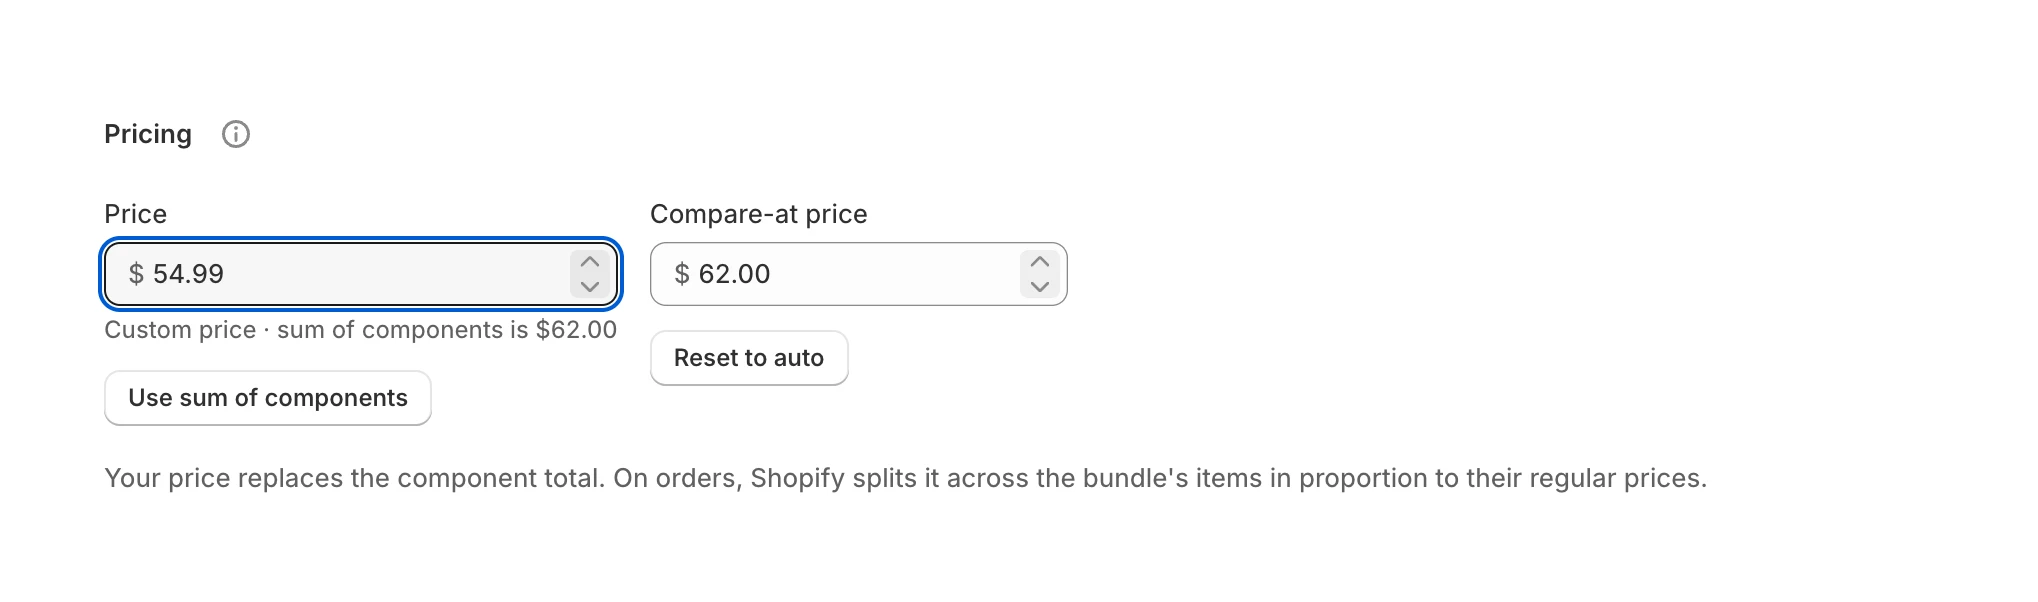
- Check the Pricing card. Price starts as the sum of the components. Enter a lower number to make it a bundle deal, and Use sum of components puts the sum back. Compare-at price stays empty until your price sits below the sum, then fills in with the sum, so shoppers get the "was this, now that" comparison for free. Type your own compare-at to break that link, and Reset to auto restores it.
- Optional: Variant options. Skip this card entirely if your bundle sells as one thing. Add a variant option when customers should choose between versions of the bundle, like a pack size or a color. Add variant option stays disabled until you've added components, with a note next to it telling you so, because variants build on the base recipe. Once it's live, type the Option name, then add values one at a time in Option values, pressing Add after each. Add another option gives you a second dimension, Remove option takes one away. Drag an option's row to change which one customers see first, and drag values within an option the same way.
- Adding a variant option rearranges the page, so don't go looking for the Pricing card afterwards. It's gone, replaced by a Variants table with one row per combination and four columns: Variant, Contents, Price, Compare-at. Price and compare-at behave exactly as they did in step 4, just per row. Contents opens a panel with a quantity field for every component, which is the real point of variants here: a "6 pack" row and a "12 pack" row hold different amounts of the same recipe. The component rows lose their Qty per bundle steppers at the same time, since the quantities now live per variant. Optionfier warns you as you approach 2,048 variants (Shopify's own per-product ceiling), and won't sync a bundle past it.
- Optional: Buy more, save more. Check Reward bigger orders with a discount to reward shoppers who buy several, either across the whole bundle or scoped to specific variants.
- Set Status to Published and save. Draft keeps it hidden while you work. Unlisted publishes it but keeps it out of search and your collections, so it's only reachable by direct link, which is handy when you're selling it from a campaign. If a warning banner sits at the top saying "Bundles needs one more permission", hit Grant permission before you save: without it Optionfier can't make the bundle's product visible in your store. Saving may show a brief "Syncing to Shopify" banner while the product is created or updated. That's normal and usually clears in a few seconds.
The red Delete button at the top right removes the bundle. It shows up once the bundle exists, not while you're building the first version, and it's permanent, so treat it accordingly.
A note on pricing
The sum keeps up when a component's price changes in Shopify, until you enter your own number. If the bundle sells at a discount, that custom price is where the discount lives, so check it again after you edit the components. A sum-of-components price also sets the bundle's price in your Shopify catalogs; see Pricing for how.
What the customer sees
One product on your storefront with one add-to-cart button (or a variant picker, if you added variant options). Nothing to configure item by item.
It's a native Shopify bundle: the order groups its component lines, and Shopify decrements each component's own inventory when the order goes through. Sell three Starter Kits and the mug stock, the coffee stock and the tote stock all drop by three. Refunds and restocks work the standard Shopify way, because every component is a real line item on the order.
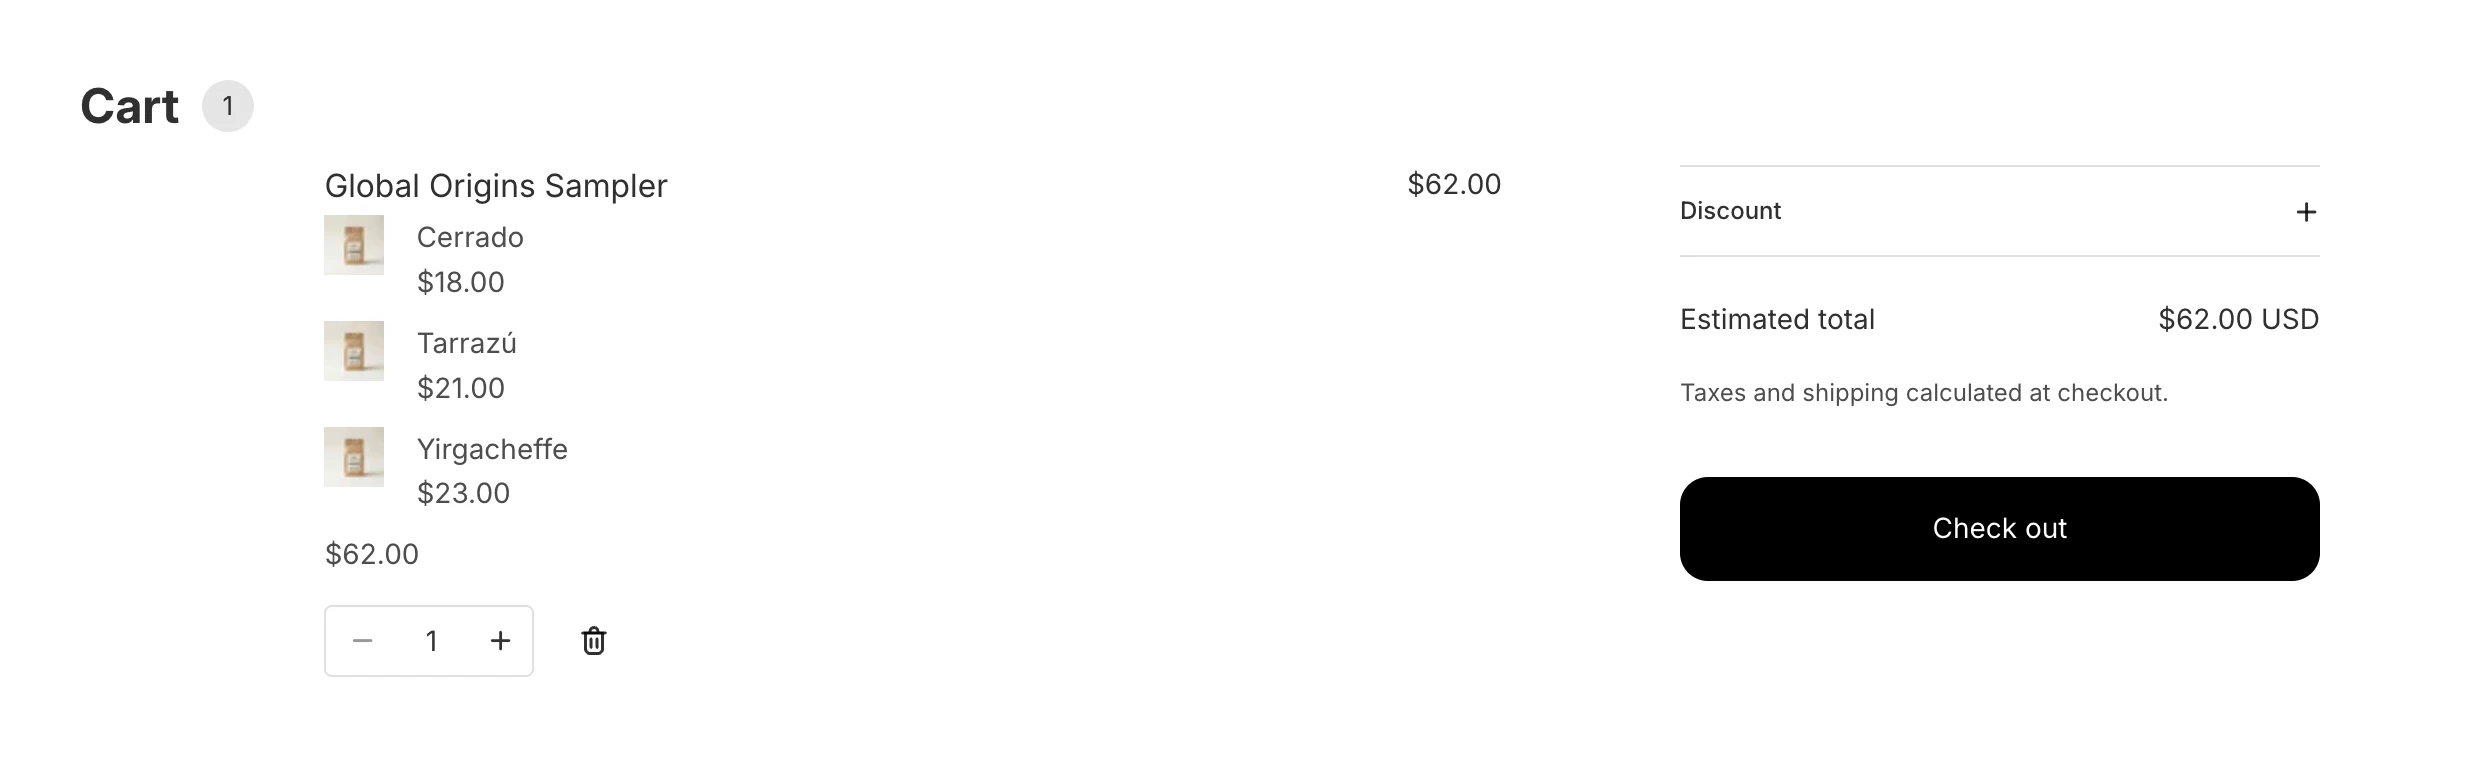
If your theme's cart shows only the bundle line, see Bundle components aren't showing in the cart.